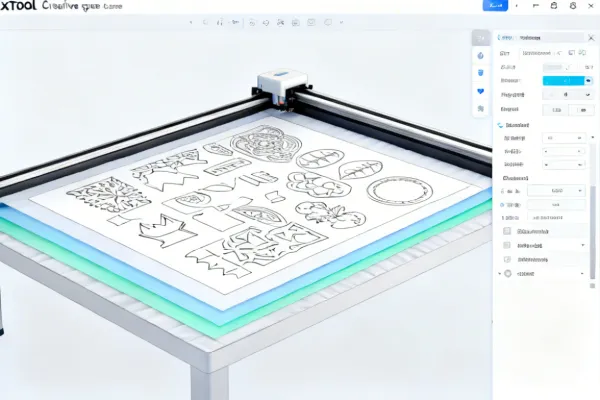
Step-by-step instructions for every function of your M1 Ultra. Whether you just unboxed the machine or you're ready to tackle advanced multi-material projects, start here.
Most users complete the full unboxing-to-first-cut process in under 30 minutes. Here's what to expect.
Remove the foam inserts and two shipping locks. The M1 Ultra weighs 18 kg, so two people are recommended for lifting. Place on a flat, stable surface with at least 10 cm clearance on each side for ventilation.
Slide your chosen tool head (10W laser, blade, or screen print) onto the magnetic carriage until it clicks. The machine auto-detects the module type — no manual selection needed in software.
Plug in the USB-C cable or connect via Wi-Fi (2.4GHz only — 5GHz is not supported). Open xTool Creative Space, run the built-in auto-focus calibration, and let the camera scan the bed.
Load the included basswood sample sheet. Import any design (SVG, PNG, DXF) or pick a built-in template. Position it using the live camera preview, hit Start, and watch your first cut or engrave complete.
Each tool head has its own workflow. Select the module you're working with to see material settings, tips, and common troubleshooting steps.
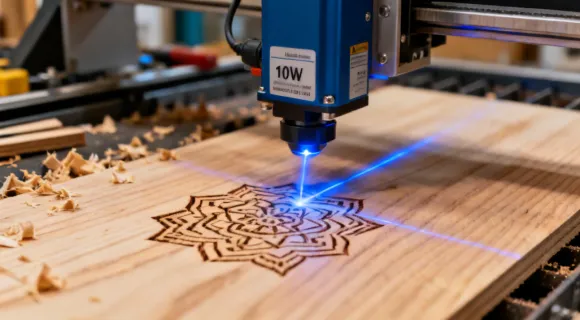
The 10W 455nm blue diode laser handles both engraving and cutting on organic materials. Maximum engraving speed is 400mm/s. Cutting depth depends on material density — 10mm on basswood, 8mm on plywood, 5mm on acrylic with masking.
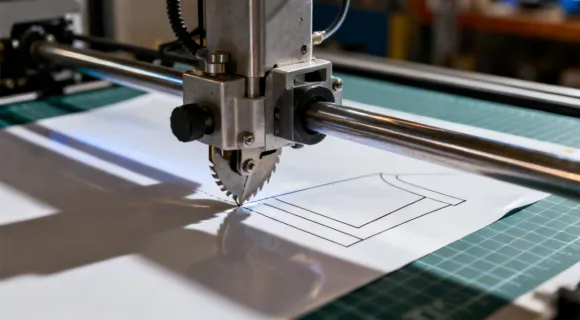
The oscillating blade module applies 0-4N of downward force in 0.1N increments. It handles adhesive vinyl, HTV, cardstock, fabric, and sticker sheets. Blade offset must be calibrated once per blade change — the software walks you through it.
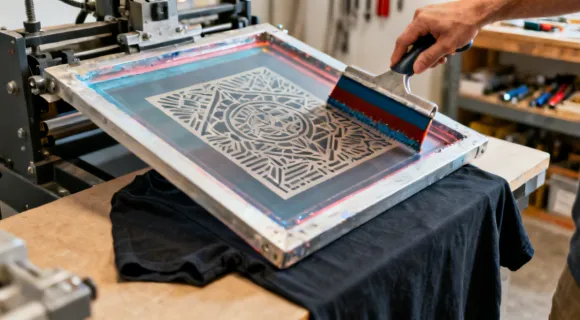
The M1 Ultra burns screen stencils directly using the laser module — no photo emulsion, UV exposure, or darkroom needed. The entire process from digital design to printed shirt takes about 15-20 minutes per screen. Each screen is reusable for 50-100 prints depending on ink type and mesh handling.
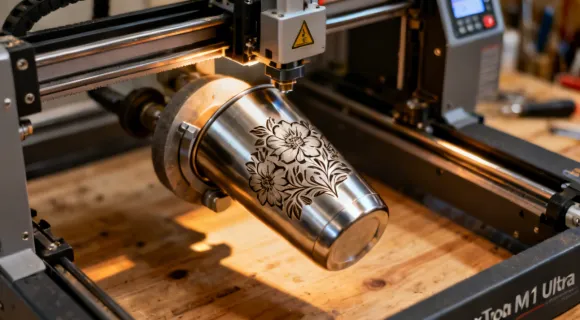
The RA2 Pro rotary attachment fits inside the M1 Ultra's enclosure and supports objects from 3mm to 200mm diameter. It works with tumblers, bottles, rings, and pens. Software automatically adjusts the laser path to account for surface curvature — but you need to enter the object diameter manually for accurate scaling.
Creative Space is the free companion software for the M1 Ultra. It runs on Windows 10+ and macOS 10.15+. Here's what you need to know to get productive:
Check three things in this order: (1) Focus distance — run auto-focus again; even 1mm off can halve cutting depth. (2) Material flatness — warped sheets need honeycomb pins or magnets to hold flat. (3) Air assist — confirm the pump is running and the nozzle isn't clogged with debris. If the material is thicker than the rated cutting depth, add additional passes at the same settings rather than increasing power to 100% on a single pass, which can cause excessive charring.
This is almost always a blade condition or force setting issue. (1) Replace or rotate the blade — the 45-degree blades dull after about 20 hours of vinyl work. (2) Reduce force by 0.2-0.3N and test again. Excess pressure forces the blade through the backing, which bunches the vinyl. (3) Ensure the cutting mat is still tacky. A worn mat allows the vinyl to shift mid-cut. Clean the mat with rubbing alcohol to restore some grip, or replace it if the adhesive layer is worn out.
The M1 Ultra only supports 2.4GHz Wi-Fi. If your router broadcasts a combined 2.4/5GHz SSID, the machine may connect to 5GHz and fail. Solution: (1) Create a separate 2.4GHz SSID in your router settings. (2) Place the machine within 5 meters of the router for initial setup. (3) If the connection is unreliable, switch to USB-C which provides a more stable connection and slightly faster file transfers for large engrave files (50MB+).
Inconsistent engraving usually comes from (1) an un-level work surface — the honeycomb bed should sit flush with the frame, (2) the lens being dirty — clean the laser lens with the provided lens wipe kit every 8-10 hours of use, or (3) material inconsistency, especially with natural wood where grain density varies. For critical projects, run a small test engrave in an inconspicuous area first. If the issue persists after cleaning the lens, the laser module may need recalibration — contact support.
The screen mesh must be taut and perfectly flat on the bed surface. Slack areas will be out of focus and burn inconsistently. (1) Re-stretch the mesh on the frame until it produces a drum-like tension. (2) Ensure the screen frame sits flat — shim if needed. (3) Check that you're using the correct screen burn power setting in Creative Space (typically 60-70% power at 200mm/s for standard polyester mesh). Overly fine mesh (above 200 count) requires slower speeds.
Our support team handles material questions, software troubleshooting, and machine diagnostics. Average response time is under 12 hours on business days.
Contact Support Read the Blog